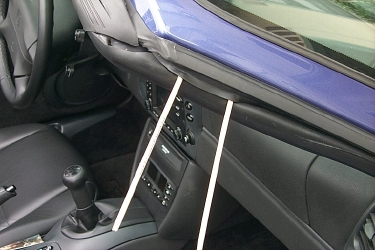
The first thing is to locate the screws that you need to remove. They're not too hard to find, but the above picture shows where they are. The two wooden sticks are touching the heads of the screws behind the rubber molding. You need to get your red tool, and using the smaller hex head, unscrew the bolts back there.
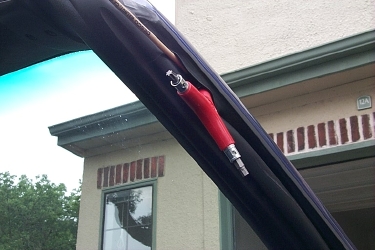
The above picture shows the tool in place to take out the screws. Put the screws aside (you should put them in your kit box) and don't use them for the bracket installation. They're hex head instead of the torx used for the bracket so you can tell them apart easily.
Now here comes the tricky part. Those two screws hold in a plastic spacer. It's not very intuitive how to get those spacers out, but it's actually pretty easy once you see it. The spacers slide very easily out THROUGH the rubber molding!
![]()
You just have to push it out. I used the little pointed wooden dowels that were in the pictures above so that I didn't scratch anything. I recommend either something like that, or something made of plastic.
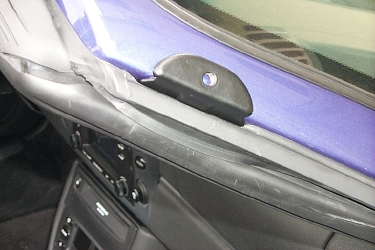
Here's another view:
![]()
Once they're out, then all you do is slide the brackets in where they were. Easy, huh? Be careful with the paint!
Note that the molding doesn't have to flap back up. I couldn't find a way to do it, and it doesn't seem to be critical. If anyone finds out otherwise, let me know to correct this.
Now put the two short torx head screws in where you took the other screws out. Do not use the screws you took out.
So that was the hardest part. Here's how to install the B-Pillar brackets.
1. RTS Installation - Starting Off
2. RTS Installation - A Pillars
3. RTS Installation - B Pillars
4. RTS Installation - Installing Arches and Finishing Up
If you note any errors or omissions, please let me know.
Back to RTS Installation
Back to Skyler's Home Page