Now that you've installed the A-Pillar Bracket, time to move on to the B-Pillar. This one's very easy.
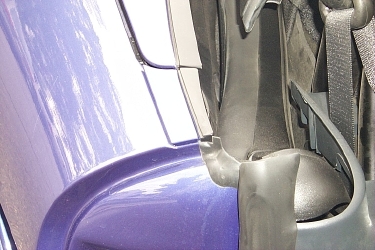
First, you remove the B-Pillar Cover. Here's where the cover is:
Use the plastic spacer that you removed from the A-Pillar to pry it up. It doesn't take much, it's only held in by two studs pushed into plastic holes.
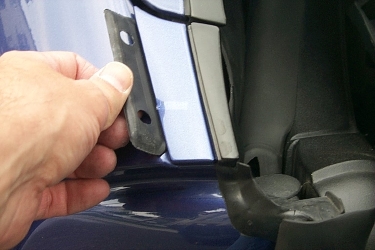
Very easy. Be sure not to drop it! The paint chips very easily (as I learned! Rats.) Here's what you see underneath the cover:
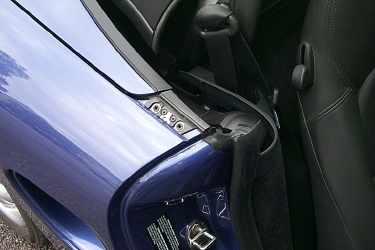
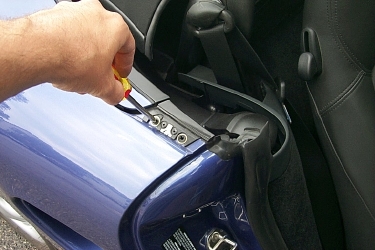
Note the two plastic screws. These serve two purposes. They keep the screw threads clean, and they have a little hole in their center where the cover presses into. SO DON'T LOSE THEM. Put them in your little parts box. Use a phillips screwdriver to remove them.
Porsche has kindly made slots in the parts kit for the plastic spacers, the plastic screws, and the B-Pillar Covers. See the instructions to see where they go.
Be gentle putting the plastic screws back in when you remove the rack. The threads will strip very easily.
Now simply screw the B-Pillar Brackets in where those plastic screws were. Easy. Use the tall torx counter sink screws.
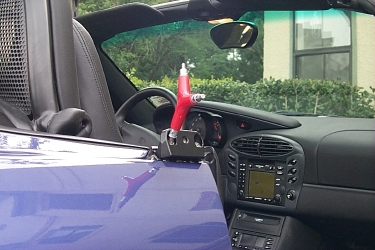
Notice my PCM is fired up and I'm listening to some really cool tunes. I'll let you imagine what I'm listening to, as you'll enjoy it better that way if you're thinking of your own music.
Now just put the Support Elements (the two arches) and Support Tubes on.
1. RTS Installation - Starting Off
2. RTS Installation - A Pillars
3. RTS Installation - B Pillars
4. RTS Installation - Installing Arches and Finishing Up
If you note any errors or omissions, please let me know.
Back to RTS Installation
Back to Skyler's Home Page