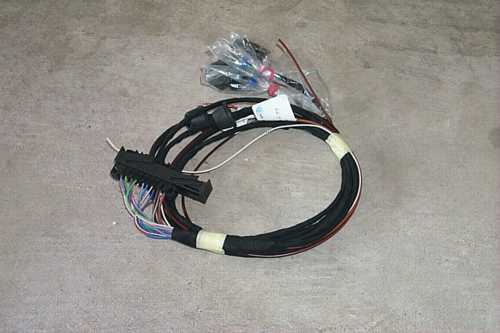
Here's the parts you should have received. First is the wiring harness (Porsche part number 996-612-988-00). You don't need this for simple functionality but it's really not hard to install. Note the plastic bags on the ends of the two wire assemblies have connectors loose inside. These will be installed after you put the ends through the trunk wall.
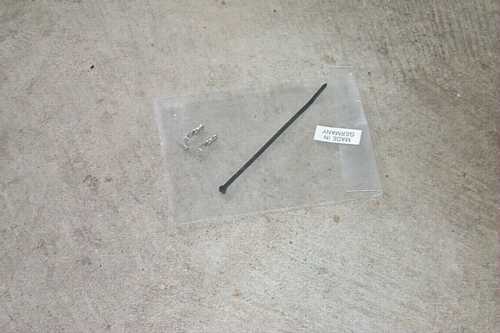
Next is a wire tie, which I didn't use, and two connector pin sockets (Porsche part number 999-652-568-22), which I didn't use (I spliced the wires rather than use a pin puller. I couldn't find a pin puller and the splice works fine.
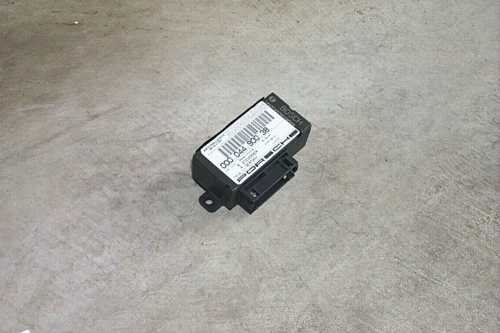
Then the headlight control unit (Porsche part number 000-044-900-38).
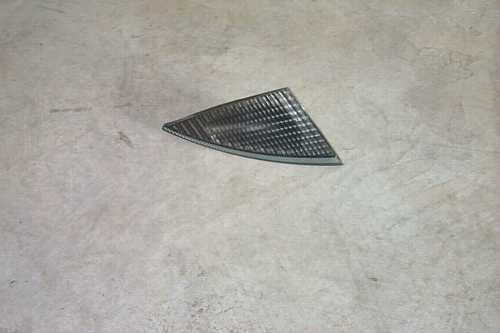
NOT INCLUDED!!!
You also should buy separately the lenses for the corners, unless you have the headlight washers. Personally, I think if you have the washers, you should still buy these and throw away the washers. But that's just me!
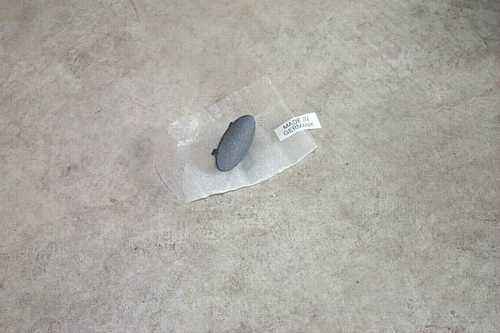
And finally a silly cap (Porsche part number 996-552-621-01-D05) that the instructions say is not used in the US. If you live in the US, I suggest you throw this away.
Tools you need:
Wire Cutters
Drill with bit to make 3/4" hole
5mm hex key (allen wrench) must be fairly long to adjust the beam (instructions not covered here)
Vacuum cleaner to remove filings
Paint primer to cover bare metal where you drilled, color isn't important
Various metric sockets of normal sizes (especially 10mm).
Phillips screwdriver and a regular too, for good measure
Tools from your toolkit that came with the car (notably the headlight unlocking key)
Electrical Tape
Porsche electrical pin removal tool, No. 87050 (Not needed if you splice the wires)
10 Nm Torque wrench (for ground wire)
Rubber rivet nuts p/n 999-500-078-00 for the amp and CD changer (if you have those) ($2 ea, two for amp, two for CD changer)
File to clean up hole to remove sharp edges
Common wire splices
Crimping tool
Solder and solder iron would be nice too.
Now you should do the wiring.
1. Introduction: Starting off, removing old lights
2. Removing the Rear Components: CD changer, amp
4. Parts provided in the kit
5. Wiring it up
6. Finishing up
7. Adjusting the Mounting Plate: Not normally needed, but it may come in handy
Back to Skyler's Web Site