The wiring is very simple. You may need to drill holes, like I did. I only had to drill one side though. The right side had a hole already that was not being used so I used it. It was for the washer system, I believe, which I don't have. Each side, though, needs a 20mm (I used 3/4" because I challenge anyone out there to find a metric hole punch in the US!) hole to pass the harness through. But I'm getting ahead of myself.
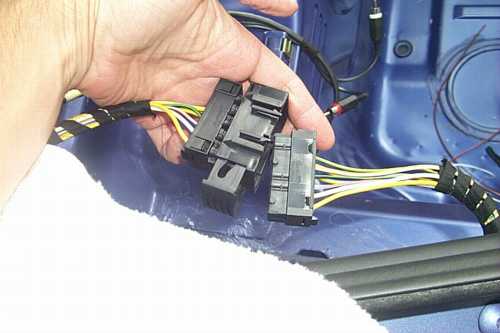
The harness has several cables.
White, I assume, is the signal to control the high beam rotation.
Brown is ground. You'll connect that to the ground point in the trunk.
Red/Black is for power, I believe. I don't have a wiring diagram, but the logic makes sense. Europeans use different color conventions than the US. This wire taps into power from the windshield washer spray jet.
Two cable assemblies (short for the right side, long for the left) and two connectors, not yet attached.
First put the short cable through the hole on the right side. Here's the hole that I used which was already there.
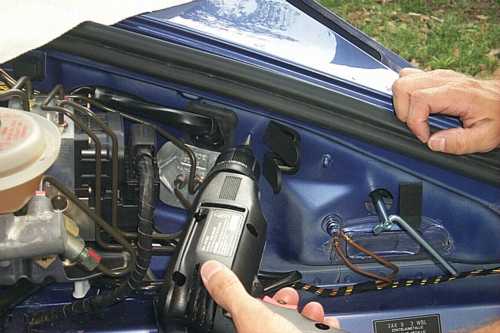
Then I drilled a hole on the left side. Here's where I did it. The hole should be 3/4" diameter, and you have to vacuum out the metal filings and put primer on the metal when you're done drilling.
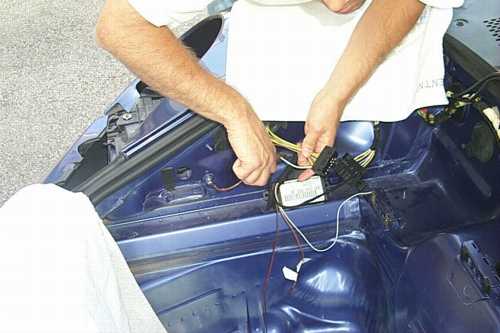
Next you have to splice the harness into the power supply.
| NOTE: THE PROCEDURE HAS CHANGED FOR MODEL YEAR 2002 AND NEWER!! THIS SITE WILL BE UPDATED SHORTLY, IN THE MEANTIME, IF YOU HAVE ONE OF THESE CARS, SEE THE OFFICIAL PORSCHE INSTRUCTIONS, PAYING PARTICULAR ATTENTION TO STEP 3.2. |
There's a connector on the right side that is held to the trunk wall by a simple snap. Unsnap it and then uncouple the connector. This is done by pulling the knob with the four nice grooves in it. Pull this out and the connector will disconnect. Fancy connectors here with Porsche. Won't find anything like this on a Chrysler product, that's for sure!
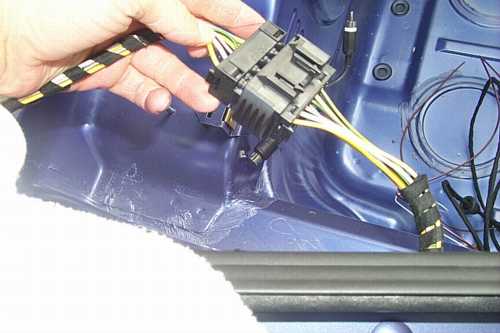
Here you can see the knob pulled back.
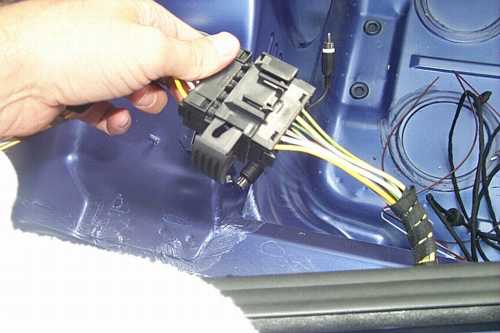
And here the connector is disconnected.
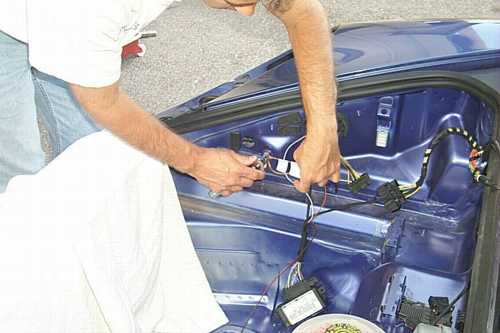
Cut the white wire on the female side, that is the side with the recesses instead of the pins. Note that I am deviating from the normal process here. Porsche wants their techs to use a pin removal tool and crimp the wire into a new pin (female). I don't have such a tool and can't be bothered any more to find one, it was taking too long. I simply bought some wire splices and spliced the new wire on. Easy.
Here's me cutting the wire.
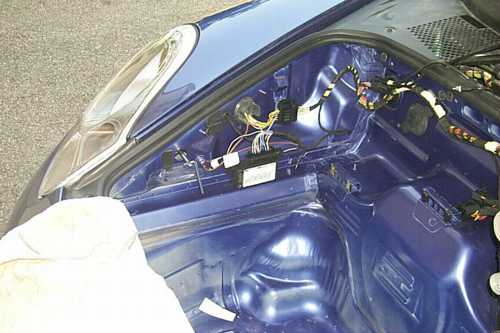
Here I've reattached the connector before I spliced the wires. I took this picture so you can see better where it is. Note that the control unit is visible, but it hasn't been placed yet.
Here you can see the smaller gage wire spliced into the larger wire.
Then you attach the brown ground wire to the grounding point.
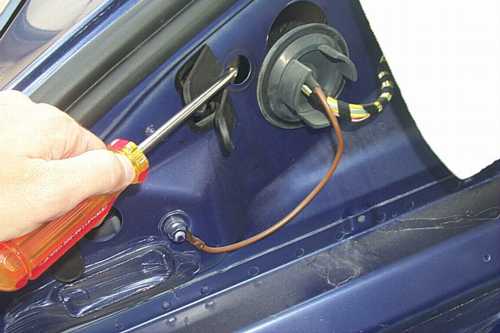
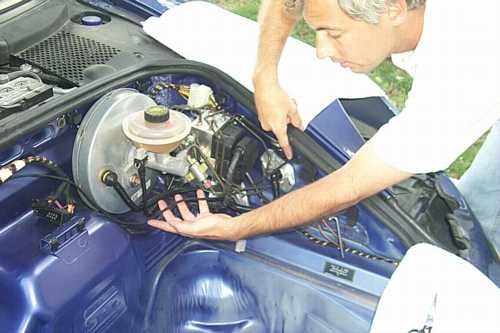
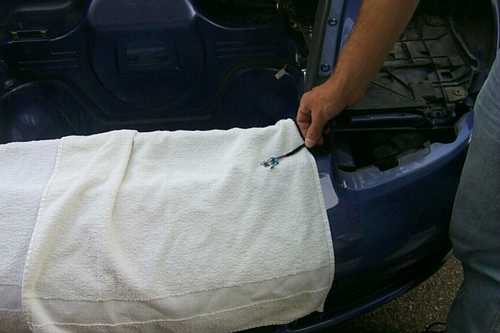
The red/black wire gets spliced into the black/yellow wire on the right windshield washer spray jet plug. The screwdriver is pointing to it.

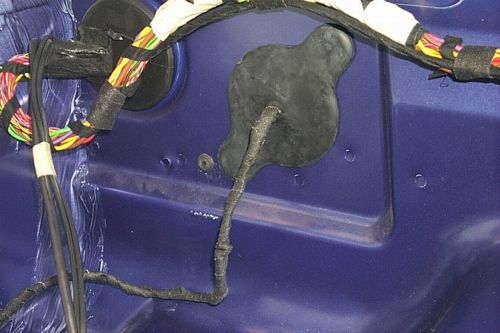
To get to the spray jet nozzle, I passed the red/black wire through the bulkhead using the existing hole for right hand drive cars for the power steering. Instead of drilling a hole in the bulkhead, and then making a hole in a grommet, I just poked a hole in this grommet. Note the wire is wrapped in insulation, per the instructions.
I spliced the red/black wire into the yellow/black wire shown above and made sure all the wires were routed neatly.
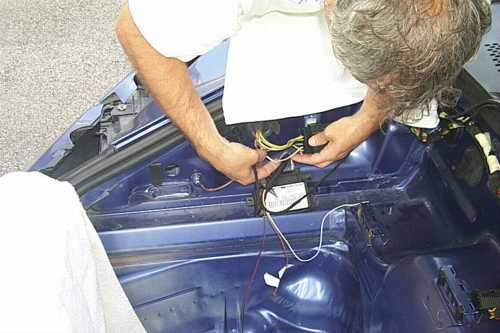
The short wire assembly gets inserted into the right side, and you seat the grommet that comes with it. The long wire assembly you have to route to the left side. Here's how I did it. First I attached it to the existing harness using electrical tape.
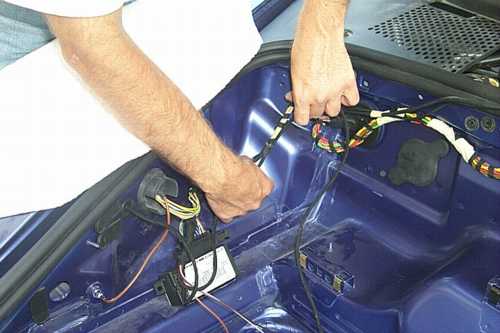
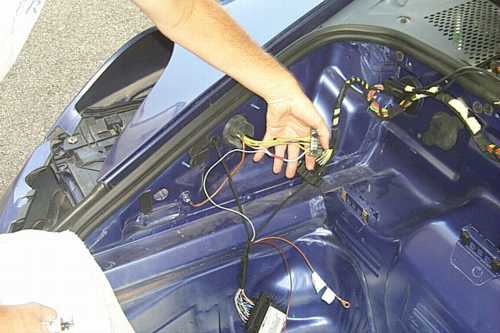
Then I traced the wire assembly down below the brake booster and to the hole I drilled. There's not much extra wire length to work with, but it will fit comfortably. Again, seat the grommet into the hole.
Now you can see that the end of the wire assembly has four wires with connectors spliced on. You have to insert these into the connector Porsche sent you. You have to do this after the wire assembly is routed through the hole because the connector will not fit through the hole. All you do is push the wire into the correct hole until you hear a click. Here's the pinout:
Here's the completed connector. Do this on both sides of the car.
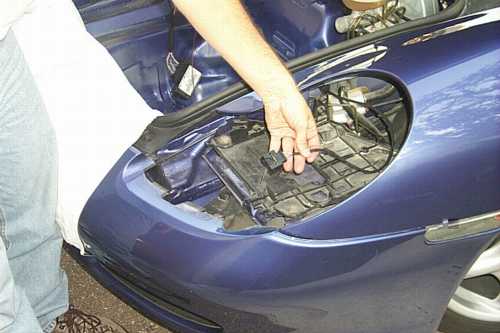
Next, mount the control unit to the side of the trunk using the adhesive that came already attached to it. It looks like it won't fit, but it does. I suggest putting the liner in to check the fit before you commit to sticking it on.
Now you've gotten the hard part done. All you have to do is install the headlight modules, and put everything back together again. You most likely will need to aim the headlights. The owner's manual should tell you how to do that.
1. Introduction: Starting off, removing old lights
2. Removing the Rear Components: CD changer, amp
5. Wiring it up
6. Finishing up
7. Adjusting the Mounting Plate: Not normally needed, but it may come in handy
Back to Skyler's Web Site