Remove the battery cover. This is so you can disconnect the power later when you splice into the power.
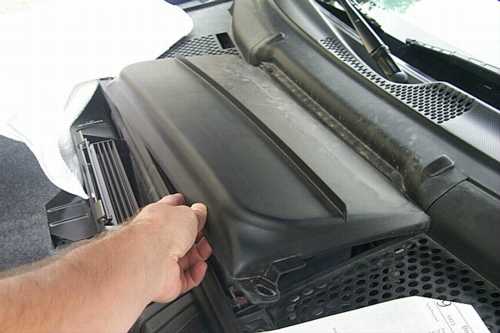
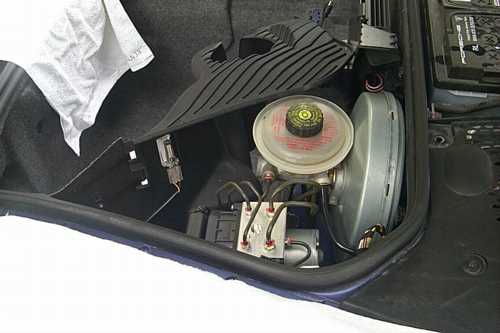
Next you need to remove the brake booster cover.
There's three screws along the edge you need to remove. (While you're at it, take a look at the anchors that these screws go into. Brilliant! There are blocks with several holes so you don't have to be exact in aligning them when you reassemble it.
There's also a twist lock on the side.
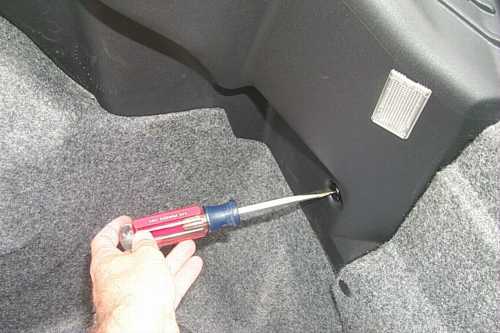
If you look carefully, you can see the small connector that supplies power to the trunk light on the left. Unplug it.
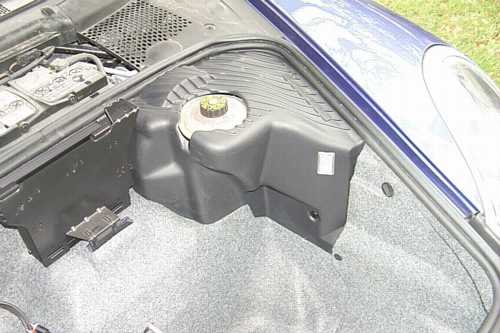
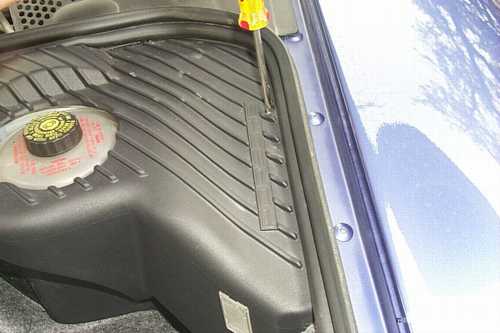
The liner now comes off easily. There are a couple of plastic screw fittings, and a few smaller snaps that you just pull out. After removing the liner, don't forget to take off the spare tire mount, otherwise it will fall off.

Now let's take a look at what you should have received with your parts kit.
1. Introduction: Starting off, removing old lights
2. Removing the Rear Components: CD changer, amp
3. Removing the Trunk Liner
5. Wiring it up
6. Finishing up
7. Adjusting the Mounting Plate: Not normally needed, but it may come in handy
Back to Skyler's Web Site