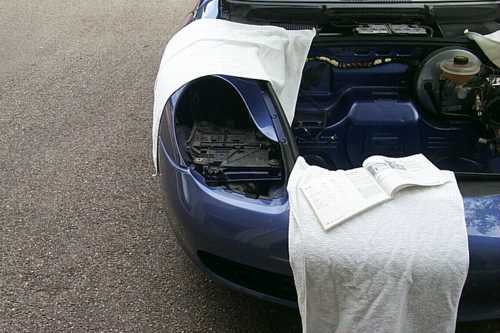
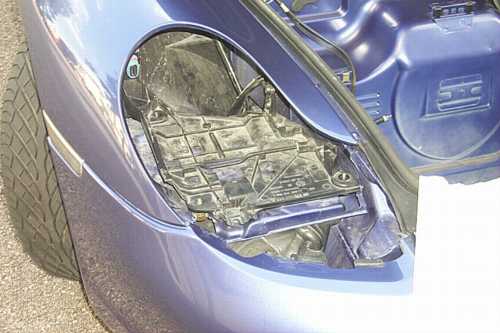
When I pulled out my right headlight module, I saw that the mounting plate was more than loose, and I couldn't get the new module to fit right. The mounting plate is the black plastic piece that the module slides into. It is held in place by three curious and clever mounting posts.
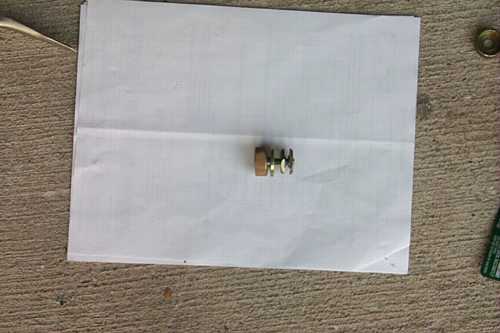
These mounting posts consist of a threaded shaft with a torx (#15) socket on one end. A nut is on the other end and it is crimped into place so it doesn't move. Two of mine were damaged so I used super glue to hold them in place. On top of the nut goes a brass knurled knob that has a brass sleeve and plate that ride on it. The next two items that you see below are just flat nuts that will sandwich the plate.
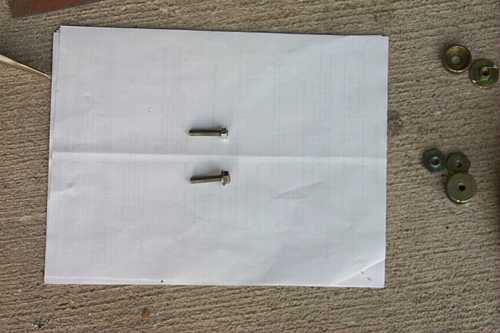
Here's a picture of the screw with the nut on it. The bottom screw is correct, the top one is my super-glued version.
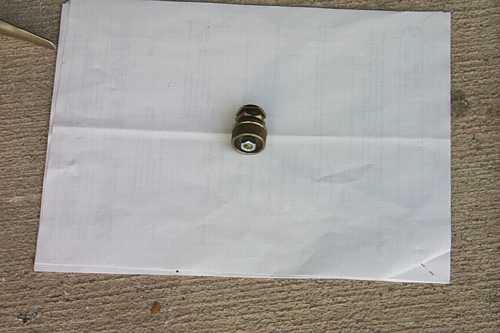
Here's a bottom view of the device. See how the nut is recessed into the bottom of the knob. The sheet metal of the car body goes between the knob and the sleeved washer (for lack of a better term) that is attached to it. By turning the torx screw, the nut is pulled up and the knob and sleeved washer squeeze together to hold the post in place on the sheet metal.
It sounds confusing perhaps, but if you have one in front of you it will make more sense.
Here's the three posts in position. The knob is below the blue sheet metal of the car, while the sleeved washer is on top. With a #15 torx tool you turn the screw counter clockwise (looking down on it) to tighten it. In this picture, the post on the inboard side doesn't have the mounting nut on it, while the other two do. The mounting plate will sit on these nuts. You adjust the headlight module's position by moving these nuts up and down. You can also move the posts forward and back.
This is a very difficult alignment because of these five different adjustments you can make.
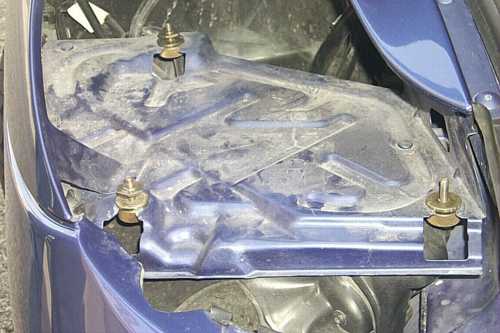
Here is the mounting plate sitting on the three posts.
Just put the top nuts on the posts to lock the plate in position. Good luck!
1. Introduction: Starting off, removing old lights
2. Removing the Rear Components: CD changer, amp
5. Wiring it up
6. Finishing up
7. Adjusting the Mounting Plate: Not normally needed, but it may come in handy
Back to Skyler's Web Site