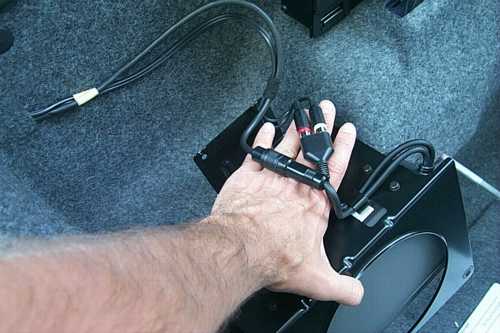
Next step is to remove the stuff along the back wall of the front trunk. This isn't necessary if you're not going to do the wiring. The wiring isn't needed, but it's not too hard to do.
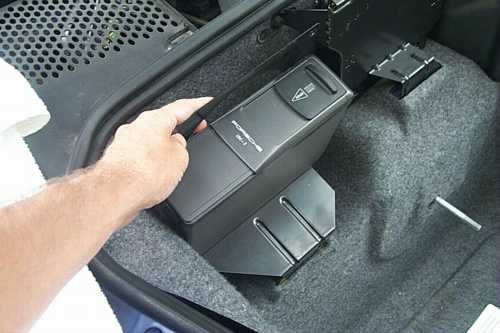
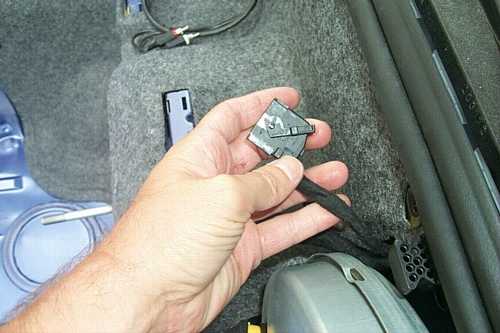
First remove the two bolts holding
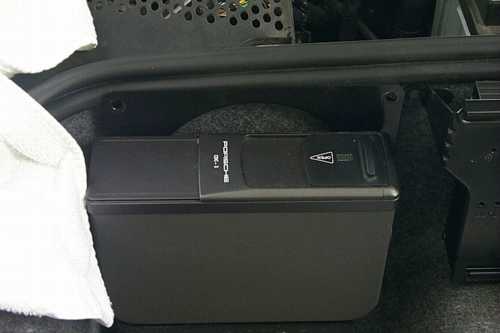
the top of the CD changer if you have one. These bolts screw into
a strange rubber "rivet." I recommend replacing them
if you need to remove these components. Mine fell apart after
only a few times in and out. The way they work is a brass nut
of sorts is embedded in a rubber sleeve with a collar.
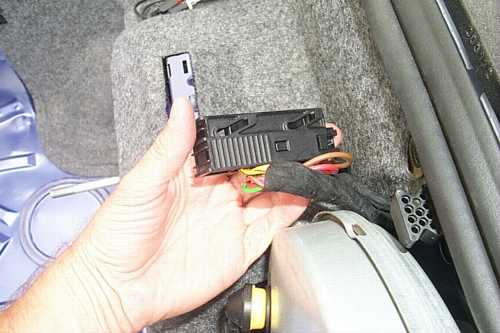
When you remove the components, remove the bolts and then after
you remove the CD changer or amp, pull out the rubber rivet or
anchor bolt. Just pull it through the bulkhead. The way the rivet
works is that the nut compresses the rubber and makes it expand
so that it blocks the bolt from coming through the hole. For this
reason be careful not to overtighten the bolts.
Here you can see the knife edge a bit better.

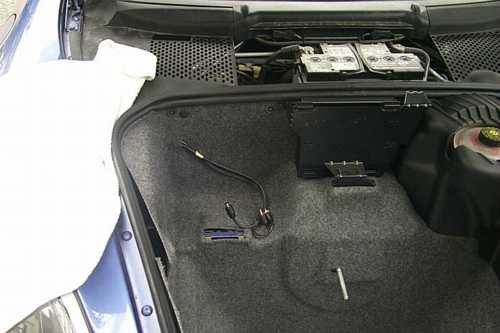

Next you remove the trunk liner and other stuff. The brake booster cover will be covered in this next page, but should be done prior to removing the amp.
1. Introduction: Starting off, removing old lights
2. Removing the Rear Components: CD changer, amp
5. Wiring it up
6. Finishing up
7. Adjusting the Mounting Plate: Not normally needed, but it may come in handy
Back to Skyler's Web Site